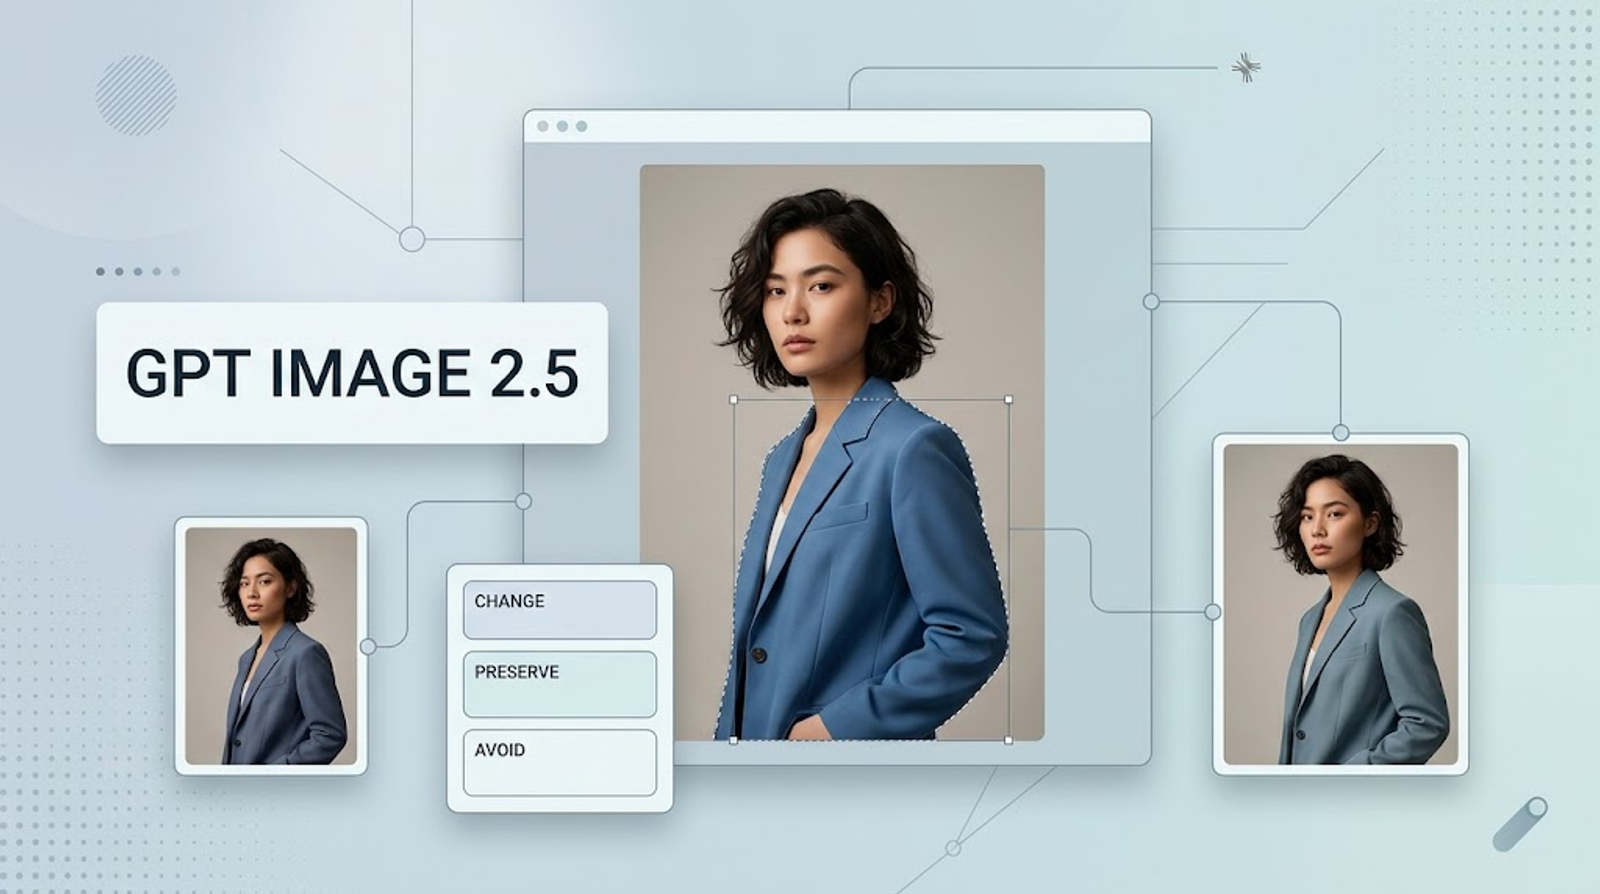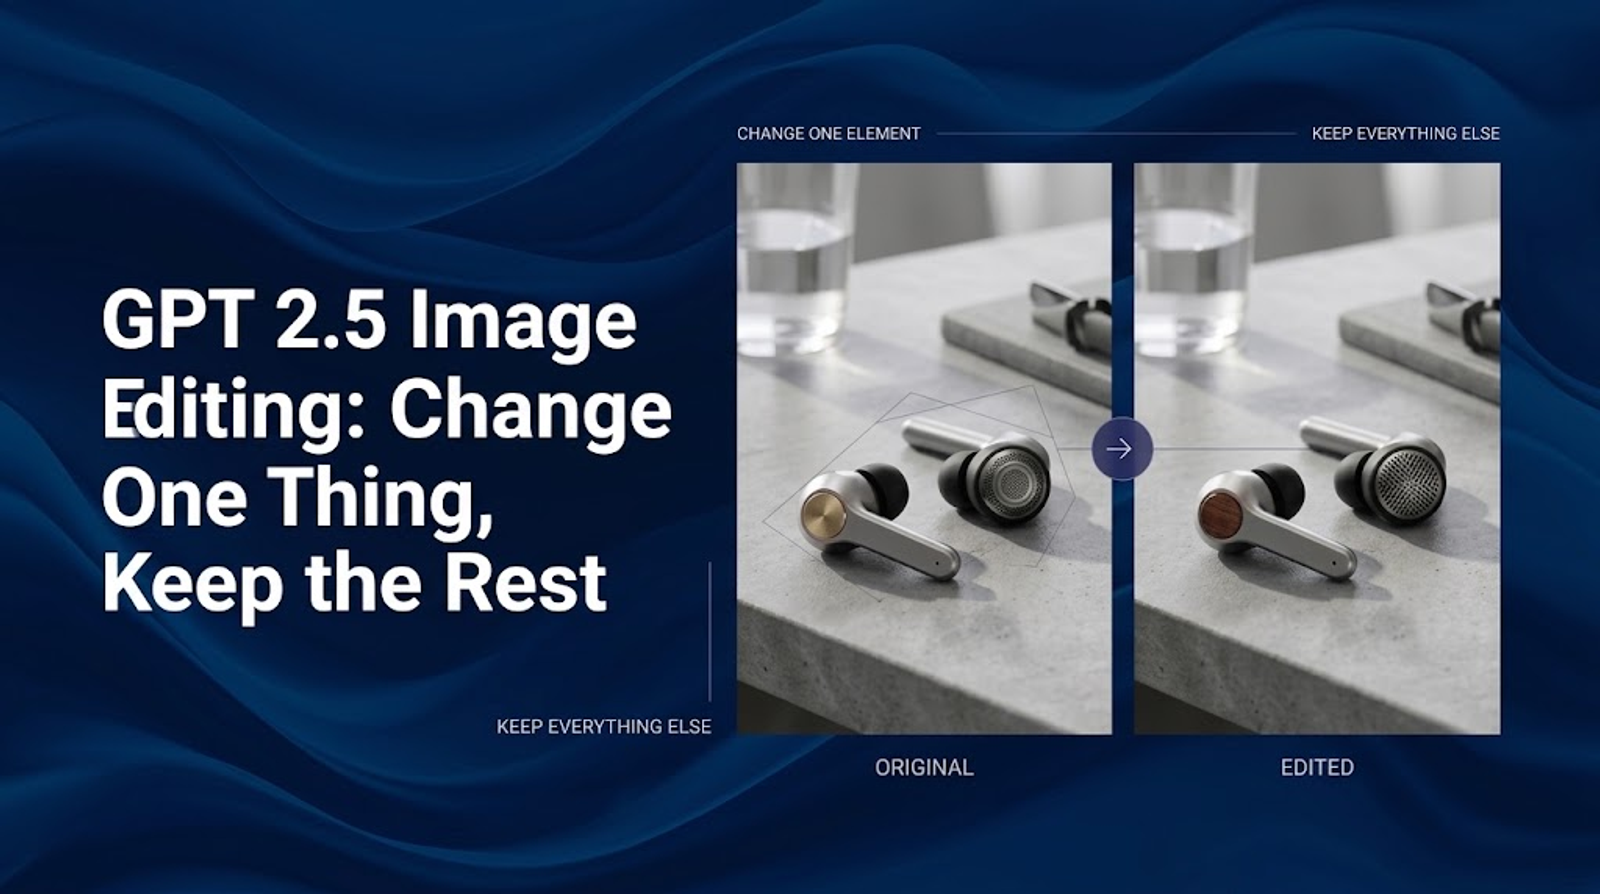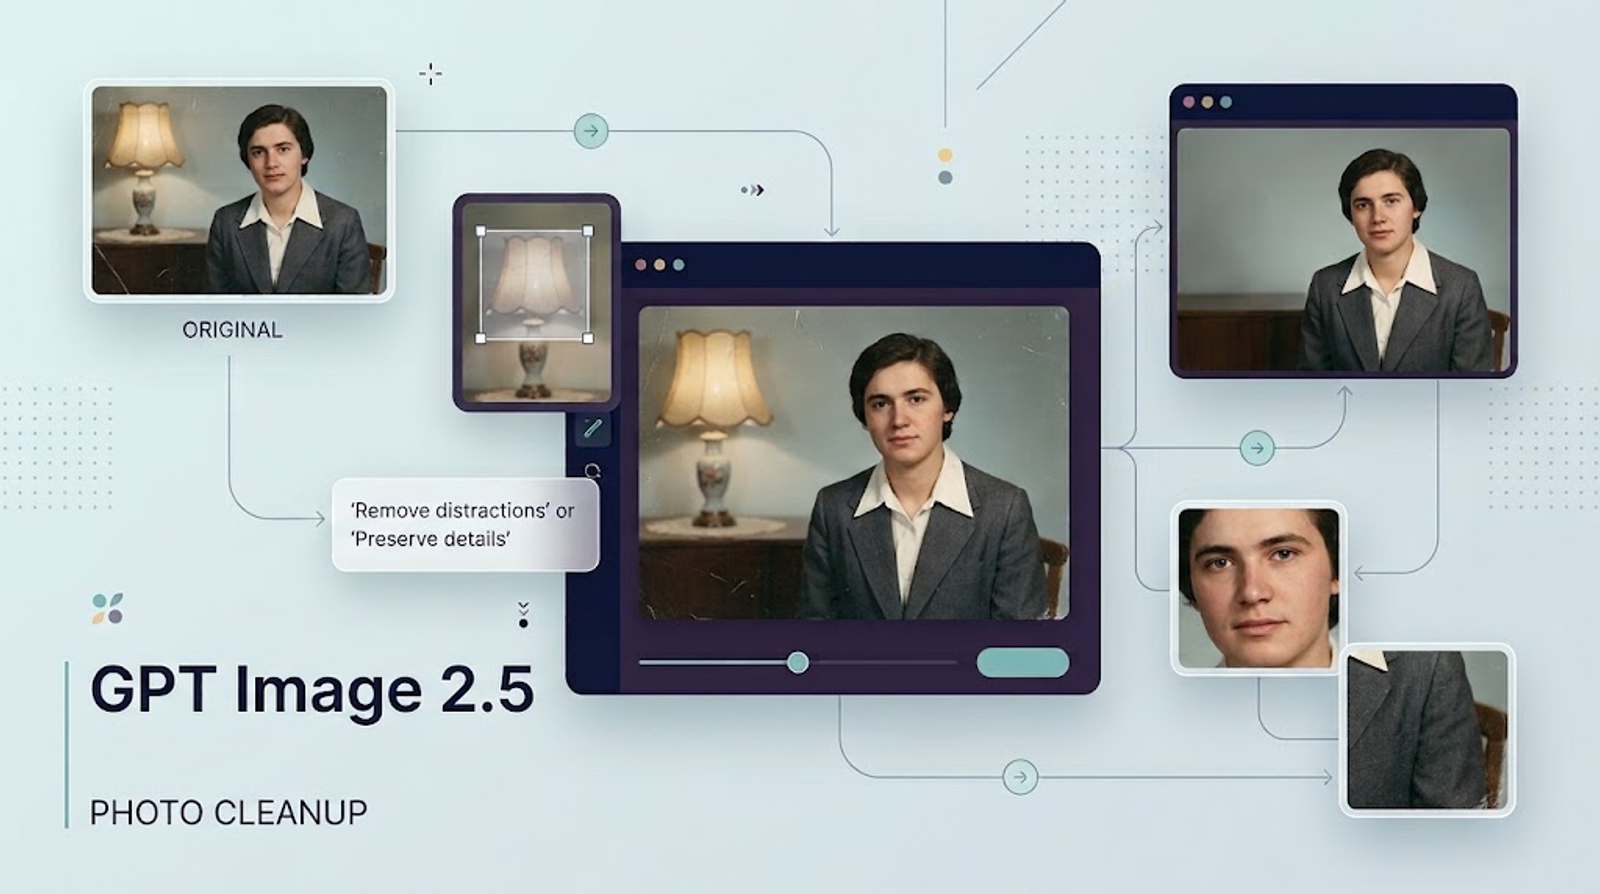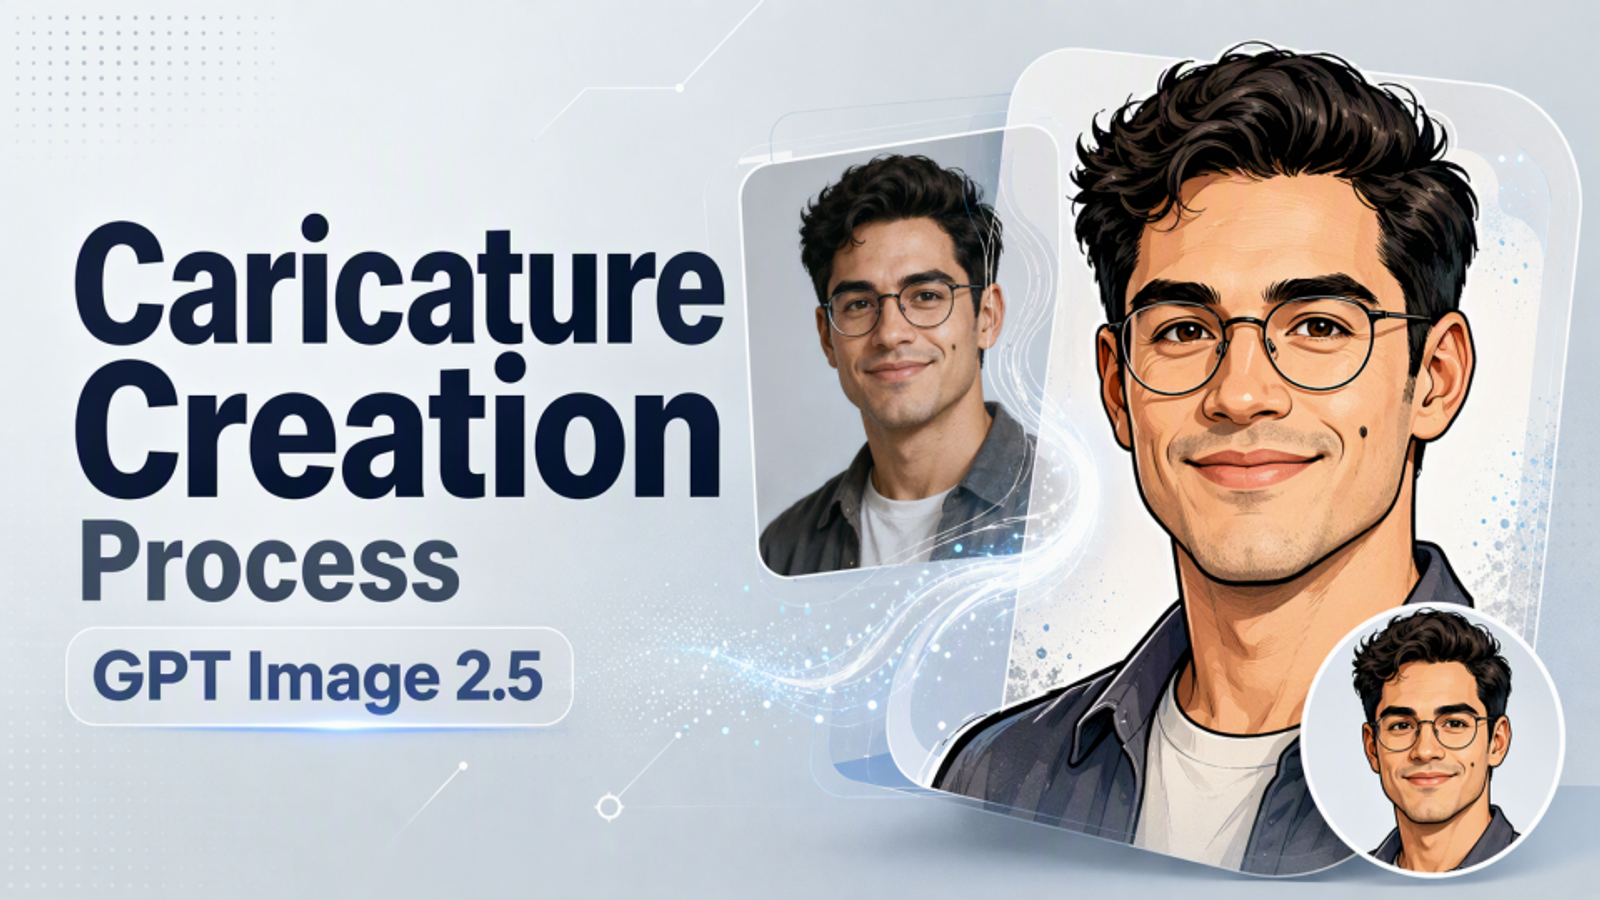
A good caricature profile picture has to do two things at once: exaggerate a recognizable feature and remain readable when the image is reduced to a small circle. The reliable way to get there is to control the process in stages: decide what the caricature should express, prepare a useful reference photo, write a focused request, inspect the first result, and correct one problem at a time.
This guide uses GPT Image 2.5 image-generation principles and keeps the workflow tool-neutral. The prompts are starting points, not guarantees of exact likeness. Your goal is a clear, expressive avatar that still looks like the person in the reference photo.
1. Decide what the caricature should express
Before writing a prompt, choose the personality you want the picture to communicate. A playful creator avatar, a calm professional portrait, and a fandom-inspired icon need different levels of exaggeration and different visual treatment.
Choose one expression and one or two exaggeration targets
Start with one expression—friendly, confident, curious, amused, or serious. Then choose one or two features to exaggerate, such as:
- a wider smile;
- more expressive eyebrows;
- fuller hair volume;
- a distinctive beard or fringe; or
- a recognizable pair of glasses.
Keep the rest of the face closer to the reference. If every feature is exaggerated, the image may become a generic cartoon rather than a caricature of a particular person.A useful scale is:
- Subtle: the face remains close to the photograph, with a small expressive change.
- Moderate: the chosen feature is obvious, while the face outline and key details remain stable.
- Bold: the illustration is deliberately stylized, so you need stronger framing and fewer competing props.
For a profile picture, subtle or moderate exaggeration is usually easier to recognize at thumbnail size.
Add a hobby or work detail only when it serves the avatar
A single accessory can communicate context: a microphone, camera, notebook, paintbrush, headphones, or a simple color cue. Treat it as a supporting detail. A crowded scene can hide the face and create extra objects that are difficult to remove later.
Write down your decision in one sentence before generating:
A warm, moderately exaggerated caricature with a friendly smile, bold ink lines, and one small camera accessory.
That sentence becomes the creative direction for the rest of the process.
2. Prepare a reference photo for a small portrait
The reference photo supplies the visual evidence that makes the avatar personal. Use a photo that lets you inspect the features you want to keep.
Choose a clear, usable reference
Look for:
- one visible face rather than a group photo;
- even or natural lighting;
- a front-facing or slightly turned angle;
- visible eyes, jawline, hairstyle, glasses, and facial hair;
- an expression close to the mood you want; and
- enough space around the head for a square crop.
Avoid heavy filters, extreme wide-angle selfies, deep shadows across the eyes, and hair or accessories that cover the face unless those details are part of the identity you want to preserve.
Before you write the prompt, record three to five identity cues.
For example:
Round glasses, short wavy hair, strong jawline, dark eyebrows, and a small beauty mark near the left cheek.
These cues are more useful than broad instructions such as “make it look like me.”
Separate identity from style
If you provide more than one reference, assign each image a job. One image can supply identity; another can supply only color, linework, or lighting. OpenAI's image prompting guidance recommends making reference roles explicit and separating what should change from what must remain.
For example:
Use Image 1 for the person's face and identity. Use Image 2 only for the color palette and linework. Do not copy Image 2's person, pose, or facial features.
This distinction reduces ambiguity when the style reference contains another face.
3. Write the first GPT Image 2.5 caricature request
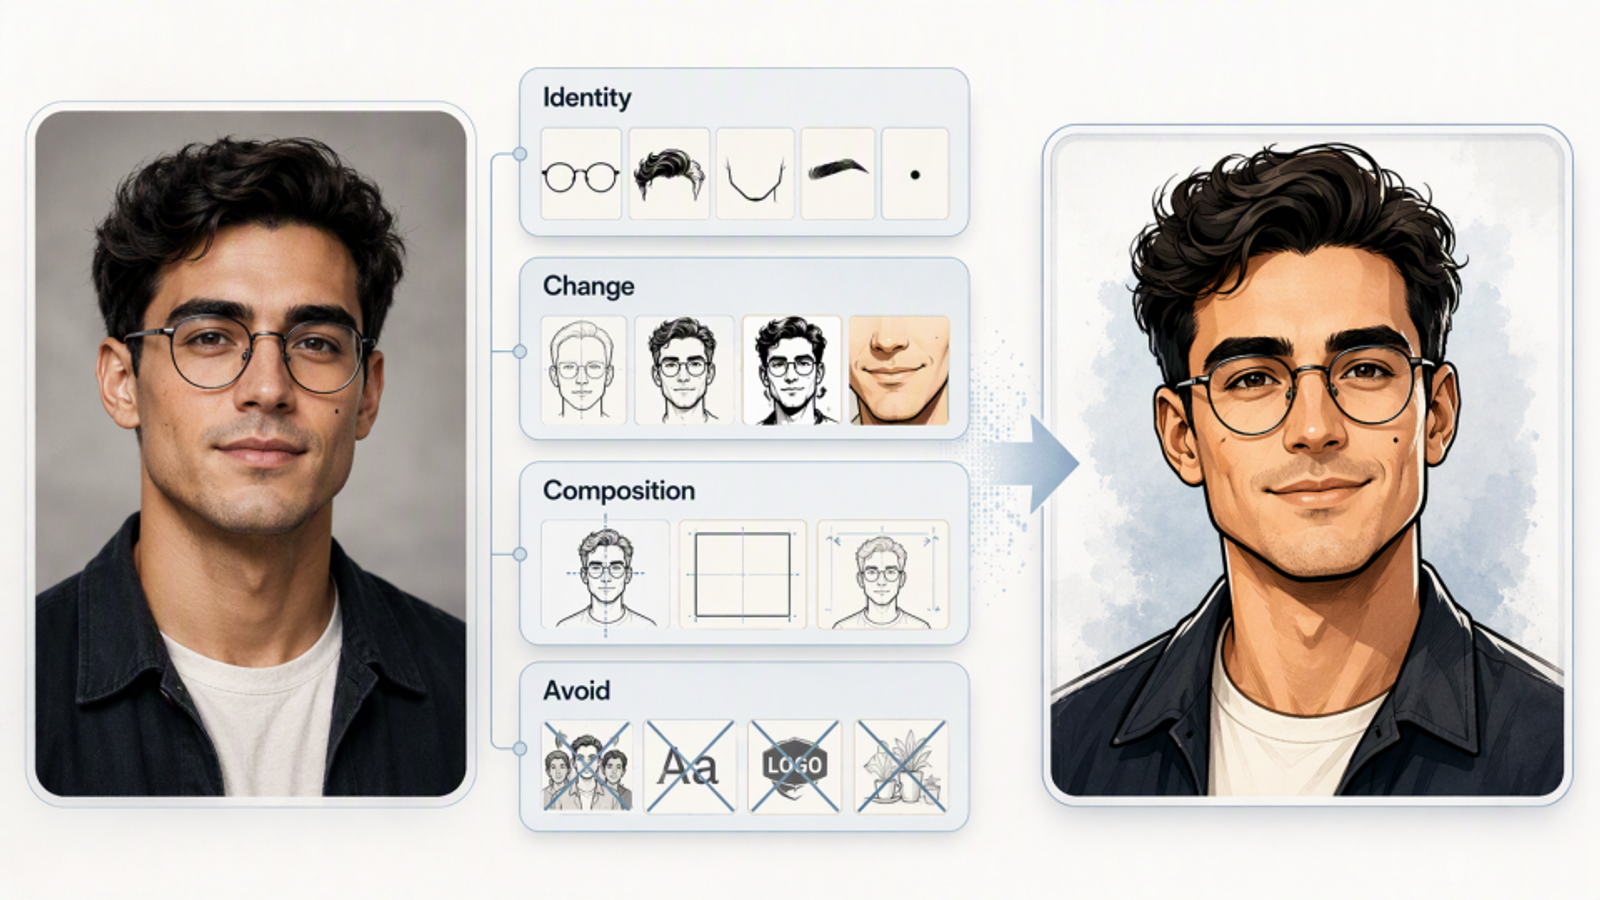
A strong first request names the input, the visual change, the protected identity cues, the framing, and the elements to avoid. The following template is designed for a square social profile picture.
Create a caricature profile portrait from the attached photo. Use the photo as the identity reference. Preserve [glasses shape], [hairstyle], [face outline], [skin tone], and [distinctive feature]. Use [bold ink outlines / soft painted shading / clean editorial illustration] with a [friendly / confident / amused] expression. Apply [subtle / moderate / bold] exaggeration to [one or two features]. Keep the other facial proportions close to the reference. Frame a centered head-and-shoulders portrait in a square composition, with clear space above the hair and below the chin for a circular crop. Use a plain [background color] background that separates from the hair. Include [one simple accessory or no accessory]. Do not add lettering, logos, extra people, invented objects, or watermarks.
The prompt follows a practical structure:
- Identity: what makes the person recognizable.
- Change: the illustration style and selected exaggeration.
- Composition: head-and-shoulders framing, square format, and breathing room.
- Avoid: extra text, props, people, and decorative clutter.
OpenAI's official image prompting guide describes the same general principle: specify the subject, composition, style, and constraints instead of relying on a vague adjective such as “cool” or “professional.”
Swap the style without rewriting the identity instructions
Once the identity and framing clauses are working, change only the style clause when exploring alternatives:
- Bold graphic: “Heavy black outlines, bright flat colors, limited shading, playful editorial energy.”
- Warm painted: “Soft painted shading, warm natural colors, gentle paper texture, restrained exaggeration.”
- Clean professional: “Minimal ink-and-paint illustration, muted palette, simple background, subtle exaggeration.”
Keeping the identity language stable makes the comparison easier to judge.
4. Inspect the first result before requesting more detail
Do not judge the artwork only by its overall attractiveness. First check whether it still represents the person.
Compare the reference and the generated image for:
- glasses shape and position;
- hairstyle and hairline;
- face outline, jaw, and chin;
- eye spacing and eyebrow shape;
- facial hair or beauty marks;
- expression and exaggeration level;
- unwanted props, lettering, logos, or extra people; and
- enough margin for a circular profile crop.
Then reduce the image to a small preview. A face that looks clear at full size can disappear when the profile picture is displayed beside a comment or message.
Use a simple decision rule:
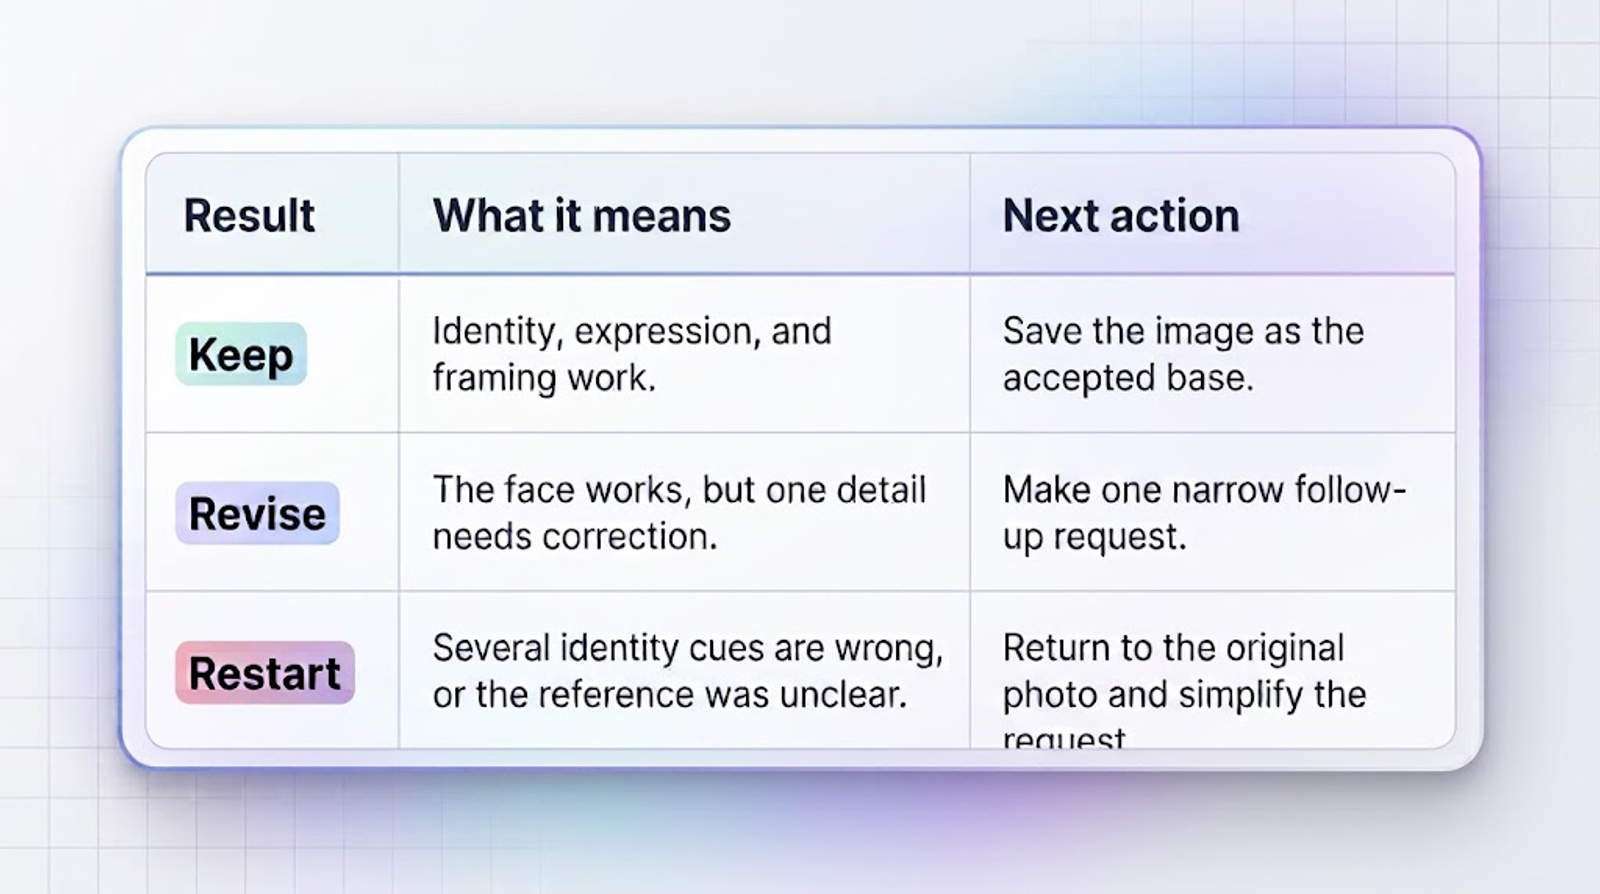
Save each useful version before making another change. A saved base makes it easier to recover if a later edit alters a feature that was already correct.
5. Correct one problem at a time
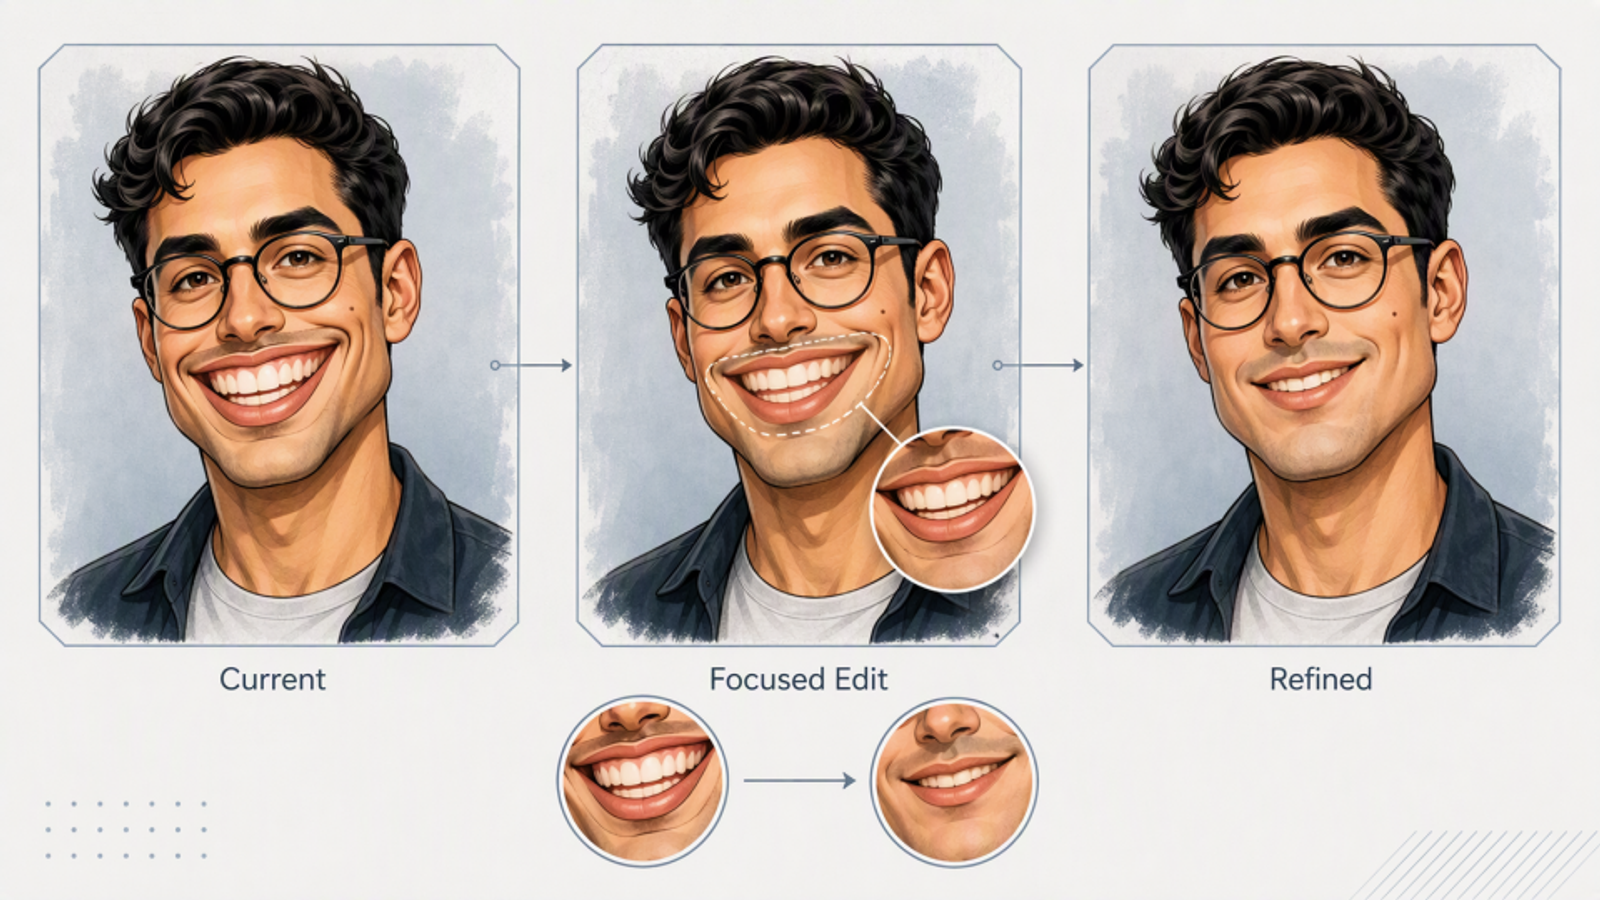
Broad follow-up requests often create new changes while fixing the old one. Use a narrow instruction that names the problem and repeats the most important preservation rules.
If the face no longer looks familiar
Use the current image. Restore the original face outline and jaw shape from the reference photo. Keep the current glasses, hairstyle, expression, color palette, and square framing. Do not change the illustration style or add accessories.
If the eyes or markings are wrong
Correct only the eye color to [color] and restore the [specific eyebrow, hair, or facial marking] from the reference. Preserve the face shape, hairstyle, expression, background, and current caricature style.
If the caricature is too extreme
Reduce the exaggeration of [mouth / eyebrows / hair] to a moderate level. Keep the person recognizable, preserve the current glasses and hairstyle, and keep the same pose, background, and composition.
If the image contains unwanted props or text
Remove [specific object or lettering] only. Leave the surrounding background and clothing clean, and preserve the face, hair, expression, colors, and framing. Add no replacement text or object.
If the hair or chin is clipped
Expand the plain background around the head and below the chin. Preserve the face, hair, clothing, expression, and illustration style. Do not stretch or redraw the person.
OpenAI's guidance on refining an image across turns supports this one-condition-at-a-time approach. Treat every new output as something to inspect; a preservation sentence is an instruction, not a guarantee that every pixel will remain unchanged.
6. Prepare the avatar for social profile use
When the portrait is approved, create a separate upload copy and keep the larger master file. Use a square crop and preview it inside a circle before publishing.
Check the following:
- The eyes and main expression remain visible.
- The top of the hair and bottom of the chin are not clipped.
- The background separates the face from the surrounding interface.
- Small accessories do not become confusing dark shapes.
- No generated lettering or watermark-like marks remain.
- The image still reads clearly at thumbnail size.
If a name, handle, date, or slogan is important, add it later in a layout tool. Generated lettering can be inconsistent, and a clean portrait with intentional typography is easier to review.
Keep the original reference, accepted master, upload copy, and final prompt together. If you refresh the avatar later, you can reuse the identity description while changing only the style or color treatment.
Common mistakes to avoid
- Asking for extreme exaggeration and exact facial proportions at the same time.
- Describing the style but leaving the identity cues unstated.
- Adding several props before the face has passed inspection.
- Changing the style, background, expression, and crop in one follow-up.
- Accepting a beautiful full-size image without checking the small circular preview.
- Relying on generated names, dates, logos, or slogans for important text.
- Assuming a prompt can guarantee an identical likeness in every generation.
A simple way to try the workflow
Wizstar now provides access to GPT Image 2.5 image generation, including GPT Image 2.5 Sunburst and GPT Image 2.5 Flare. You are welcome to use the process and prompt structure above in Wizstar, starting with one clear photo and one controlled style change. Review the face at full size and at profile-thumbnail size before keeping the final avatar.