The easiest way to use GPT Image 2.5 is to treat it like a step-by-step image editor:
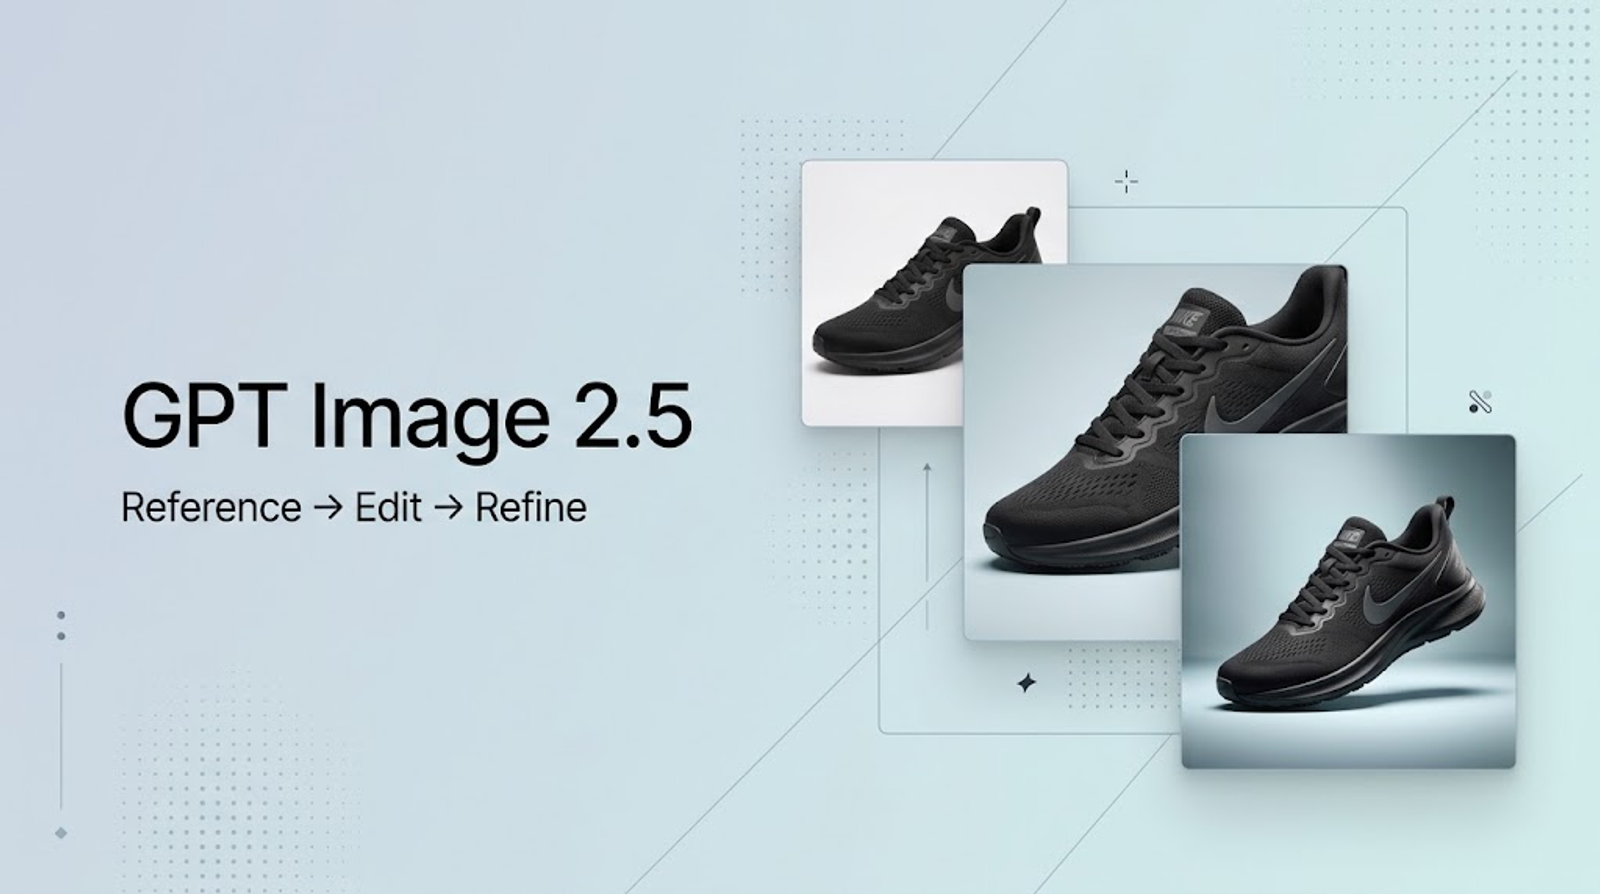
Reference image -> First draft -> Small edits -> Check -> Repeat
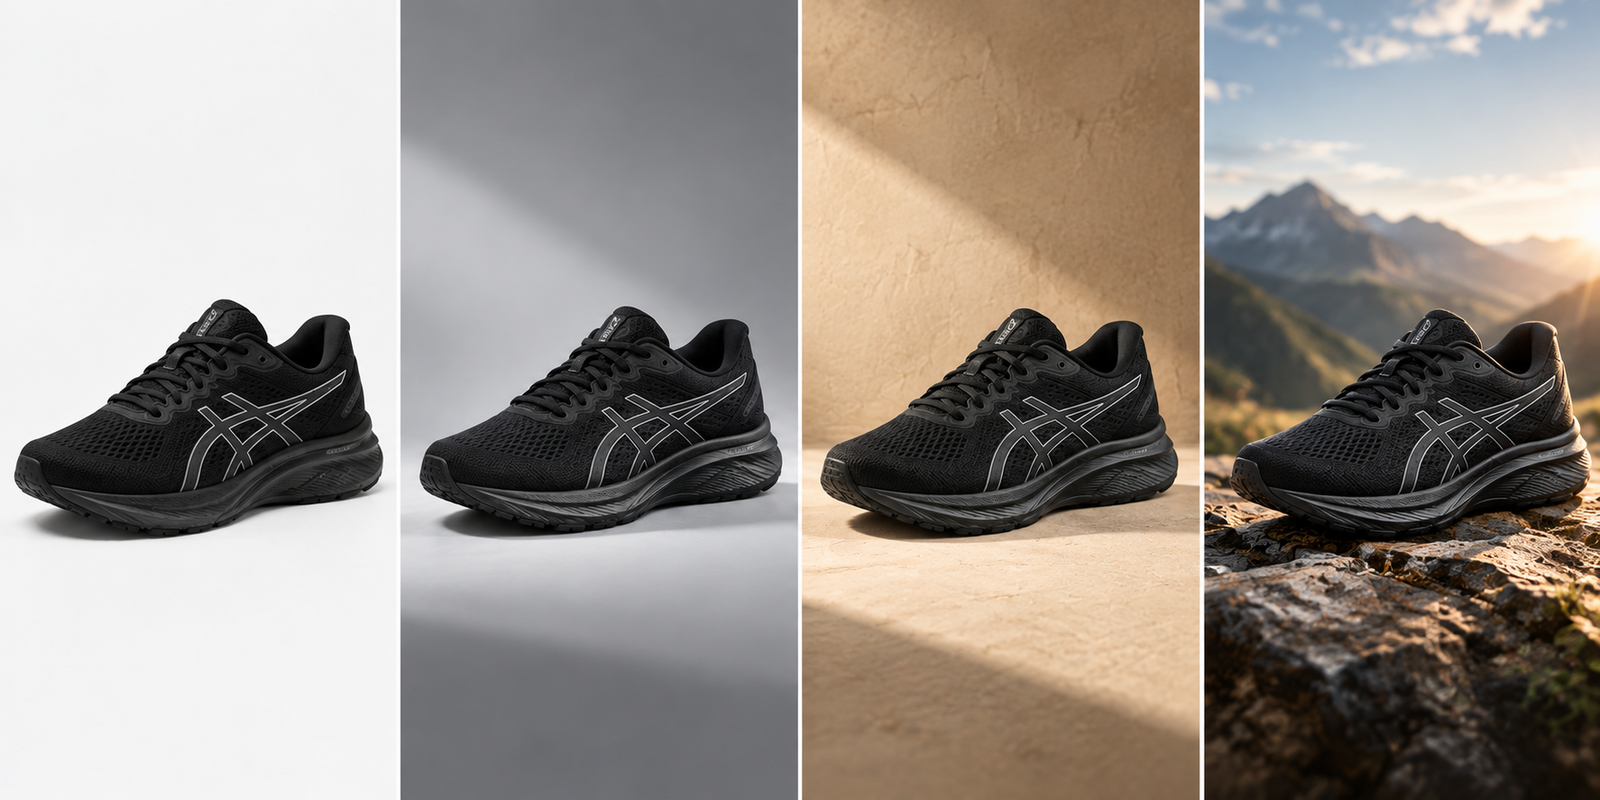
For example, you can start with a basic photo of a running shoe and turn it into a sports ad. The shoe should keep its shape, colors, logo, and main details. You can then change the background, light, camera view, and mood.
This process is more useful than making a new image every time something looks wrong. Start with a good base, keep the parts that work, and change only what needs work.
Start with a Reference Image
If you already have a product, person, logo, or style you want to use, upload it as a reference image. This is often easier than describing every detail in a long prompt.
A reference image can show the model the product's shape, stitching, sole, and logo. Your prompt can then focus on what you want to change:
"Use the uploaded shoe as the main product reference. Create a clean commercial product photo of this black running shoe on a simple light-gray studio background. Use soft lighting. Keep the shoe's shape, logo, and colors the same as in the reference."
The model does not need to copy every pixel. The reference image gives it a clear starting point, so it does not have to guess what your subject looks like.
Try Several Ideas Before You Polish the Image
Do not expect the first image to be the final one. Use your first few images to test different ideas.
For the running shoe example, you could try:
- A clean product photo for an online store
- An outdoor trail scene with a rough, active look
- A high-contrast sports ad with strong edge lighting
At this stage, focus on the big picture:
- Where the subject sits
- What the camera view feels like
- How light and dark the image is
- The overall mood
Do not spend too much time fixing tiny details before you choose a direction. Make two or three versions, then continue with the one that works best.
Make Small Edits Instead of Starting Over
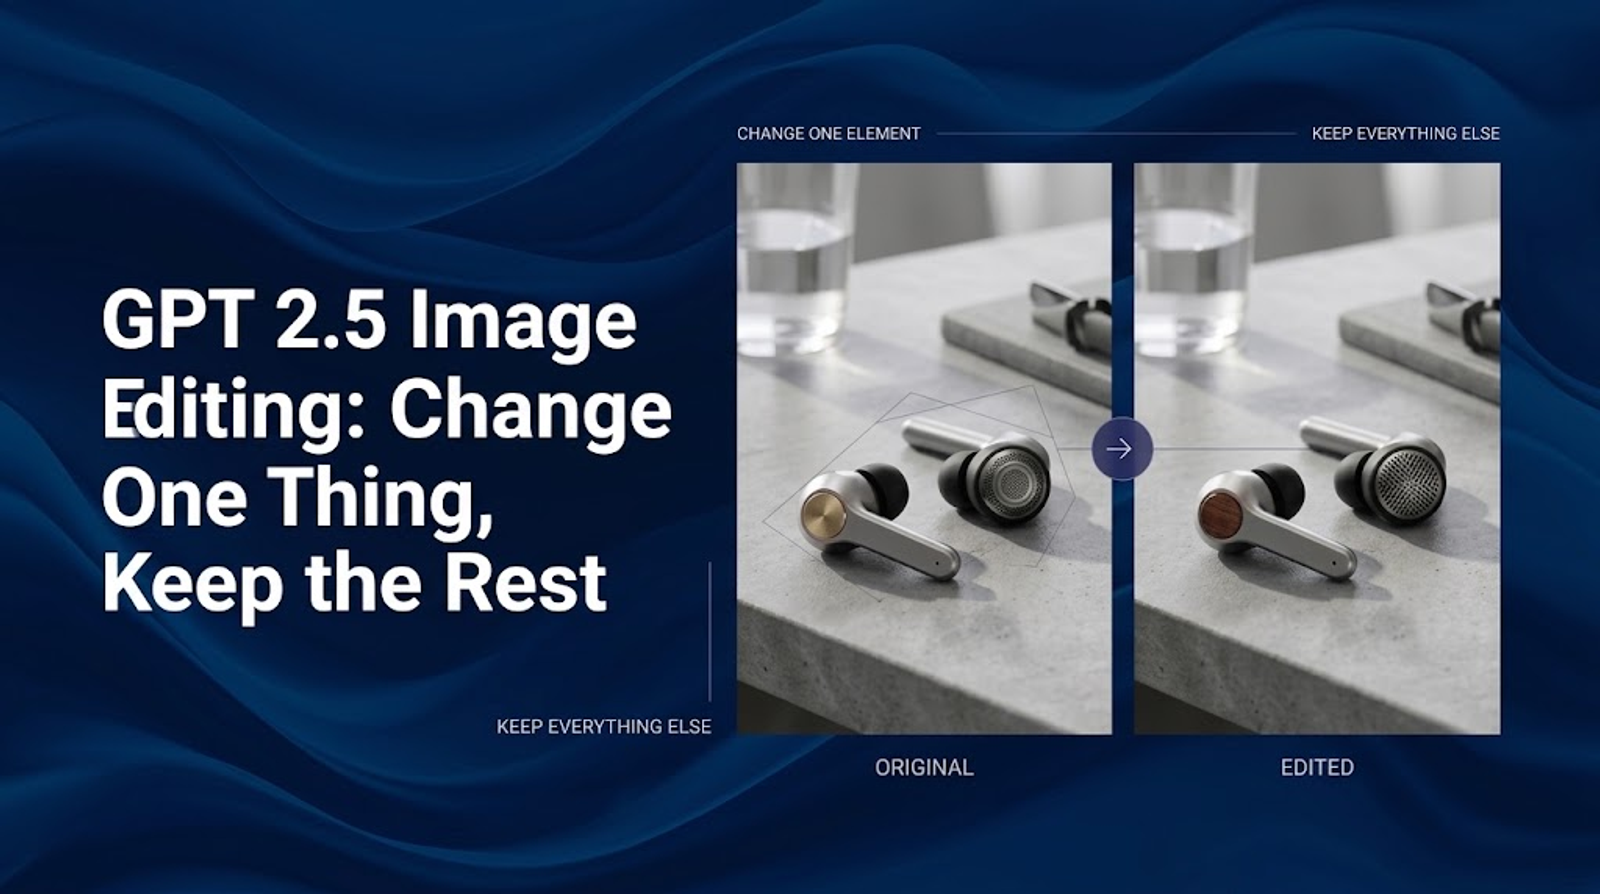
When an image is mostly right, do not throw it away just because one part needs work. Ask for a focused edit instead.
For example, if the shoe shape, camera view, and lighting are good, but the gray background feels too cold, try:
"Change the background to a warm, sand-colored plaster studio wall. Keep the shoe shape, logo position, camera view, lighting, and image framing exactly the same."
A useful edit prompt has two parts: Change + Keep.
- Say clearly what you want to change.
- Say clearly what must stay the same.
This gives the model a smaller job and helps protect the parts that already look right.
Make One Change at a Time
Do not try to fix the background, lighting, reflections, and shadows in one prompt. Make the changes in order:
Fix the subject position -> Set the background -> Adjust the lighting -> Improve the ground shadow
GPT Image 2.5 can use information from earlier turns, so you can build on the last version. Still, important details may change during an edit. When something must stay the same, say so again:
"Keep the shoe shape and side logo exactly the same as in the previous version. Only make the shadow below the sole softer."The more important the image is to your brand, the more clearly you should describe its limits.
Tell the Model What It Must Not Change
Do not assume the model knows which details matter most to you. For example, if you ask for a warmer background, it might also change the color of a white shoe sole.
Use clear limits in your prompt:
- "Keep the person's face, skin tone, and clothes exactly the same. Only change the city background into a pine forest."
- "Only change the background color. Do not change the product shape, bright areas, or logo position."
AI editing is not the same as using locked layers in Photoshop. A change can sometimes affect nearby areas. If a detail cannot change, say it directly.
Check the Whole Image After Every Edit
After an edit, do not look only at the part you asked the model to change. Check the whole image:
- Did the product shape or size change?
- Did the logo or text change?
- Does the object still look like it is touching the ground?
- Does the light on the subject match the new background?
- Did the camera view change?
If an important detail becomes worse, go back to the last good version. Then try a clearer prompt. Adding more edits to a bad version can create more unwanted changes.
Use Sketches to Show Where Things Go
Text is not always the best way to explain a layout. A quick sketch can show the model where to place the subject and where to leave empty space.
For example, instead of writing a long description about camera position, use a sketch to show:
- Where the subject should sit
- How large it should be
- Where the horizon should be
- Where to leave space for a headline or other text
- How large the front and back objects should be compared with each other
The sketch does not need to look good. It only needs to show the layout. Use the sketch for position, the prompt for materials and lighting, and GPT Image 2.5 to combine them.
Use Templates for Repeated Designs
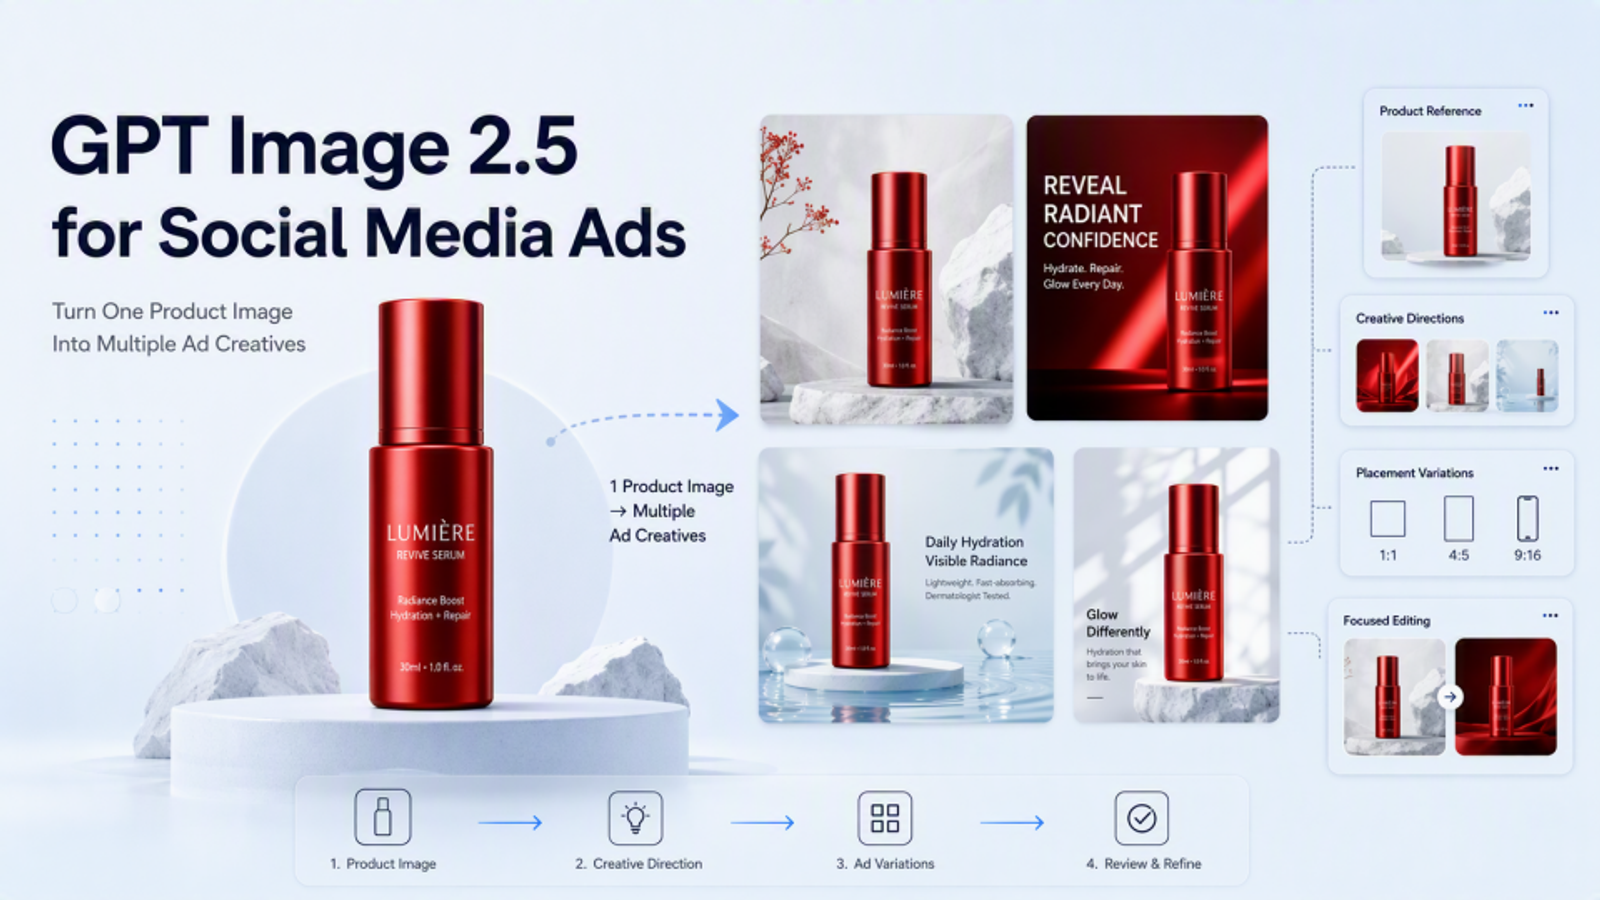
If you often make the same type of content, such as sale banners, product cards, or vertical social ads, do not start with a blank prompt every time.
Use a template to keep the main layout, image size, safe space for text, and style rules. Then change the product reference or the words in the prompt.
Templates save time and help repeated designs look consistent. For one-of-a-kind creative work, you can start from scratch.
Choose the Model for the Job
When you use the API, choose the model that fits the current step:

Use Flare when you want to try ideas quickly. Use Sunburst when you need more control over the final image.
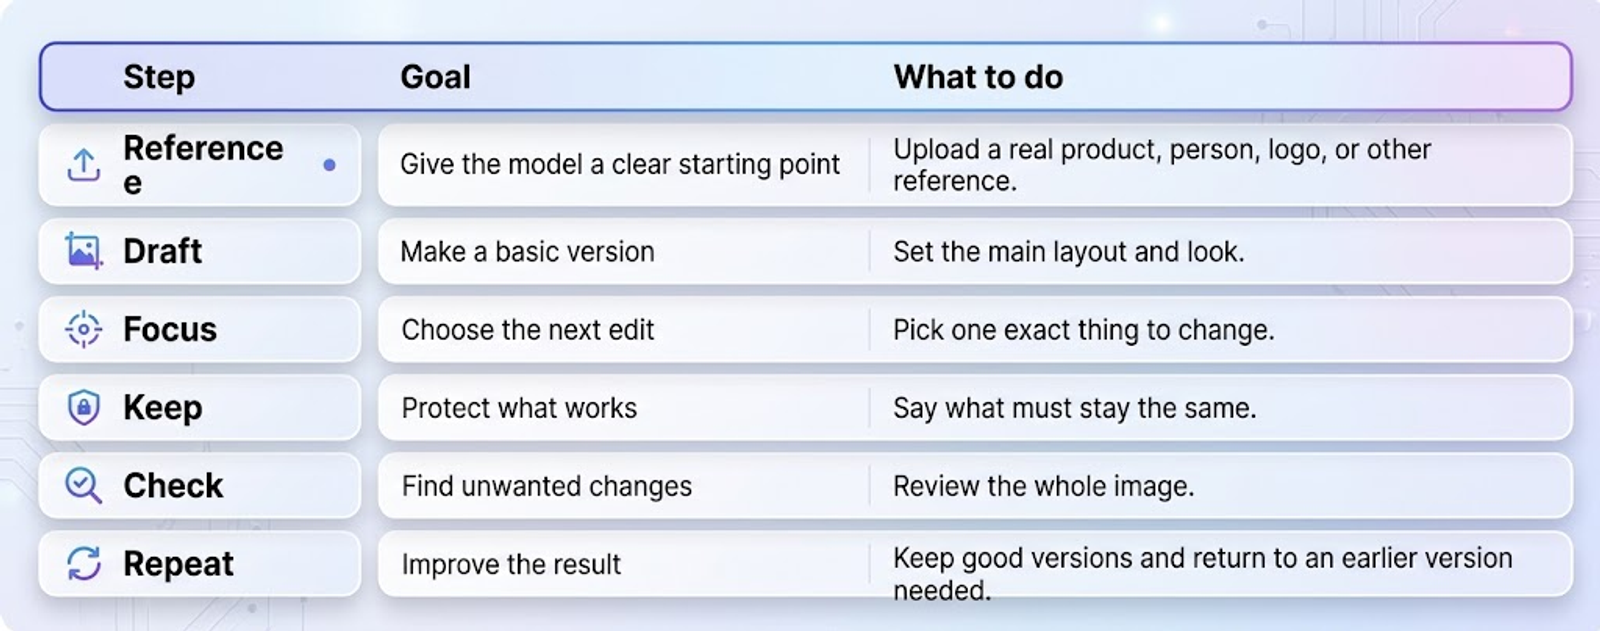
A Simple Production Process
What GPT Image 2.5 Changes for Image Creation
Older image tools often required one very long prompt and a lot of trial and error. GPT Image 2.5 makes another approach easier: start with a reference, make a basic image, and improve one part at a time.
The goal is not to find one perfect prompt. The goal is to decide what needs to change next and give the model a clear instruction.GPT Image 2.5 is coming soon to Wizstar. Sign up now and be ready to try the model as soon as it launches.
FAQ
- Is GPT Image 2.5 free to use in ChatGPT?
- Yes. ChatGPT Images 2.5 is being made available to ChatGPT users. The limits depend on your plan. OpenAI does not currently list one fixed daily limit for free users. API use is charged by token use.
- Can I use GPT Image 2.5 on my phone?
- Yes. ChatGPT Images 2.5 is available on iOS, Android, the web, and desktop. You can create images from prompts, upload images, and edit them. The features may be different on each platform and plan.
- How is GPT Image 2.5 better for editing than GPT Image 2?
- GPT Image 2.5 is made for more exact edits and better results across several editing turns. It is better at changing one part while keeping other parts. OpenAI also reports that it can be up to 50% faster than Images 2.0.
- Why does an edit sometimes change something I did not mention?
- GPT Image 2.5 is not a perfect pixel-by-pixel editing tool. Tell it what to change and what to keep. If the result is wrong, return to an earlier good version and try a shorter, clearer prompt.
- Does GPT Image 2.5 support custom image sizes?
- GPT Image 2.5 supports different image sizes through its API, but the available sizes depend on the model and API settings. Do not assume that a prompt alone will always create any exact shape or ratio. In ChatGPT, describe the format or use a template that is available in the interface.
- Can I use GPT Image 2.5 images for commercial work?
- In general, OpenAI's terms say that, where the law allows it, you own the output you create. This does not remove other people's rights. Before commercial use, check the rights for reference images, logos, trademarks, characters, and other outside content.
- What makes GPT Image 2.5 different?
- The main change is better control, not only sharper images. You can start with a clear base image, make one focused edit, keep the parts that work, and improve the result over several turns. A simple process is: Reference -> Create -> Edit -> Keep -> Check -> Repeat