
The short answer
Use one frame in Seedance 2.5 Flash image to video when you have an approved opening shot and the ending can be flexible. Use two frames when the clip needs to finish on a specific composition, such as a straight-on packshot with the full label visible. Prepare both images in the delivery aspect ratio and use the prompt to describe the camera move between them. The walkthrough below uses BytePlus ModelArk, with Dreamina’s separate creator workflow covered in the FAQ.
When Should You Use One Frame or Two?
Use one frame for a product insert the editor can trim freely. Add a second when the final view needs to land in a specific place, such as a front-facing label with space beside it for an offer. The BytePlus Seedance 2.5 series tutorial documents both modes for Flash. If your images are meant to guide the setting, materials, or style across a shot, Wizstar’s Seedance 2.5 multi-reference video guide explains how those references work.
Start With One Frame for a Simple Product Move
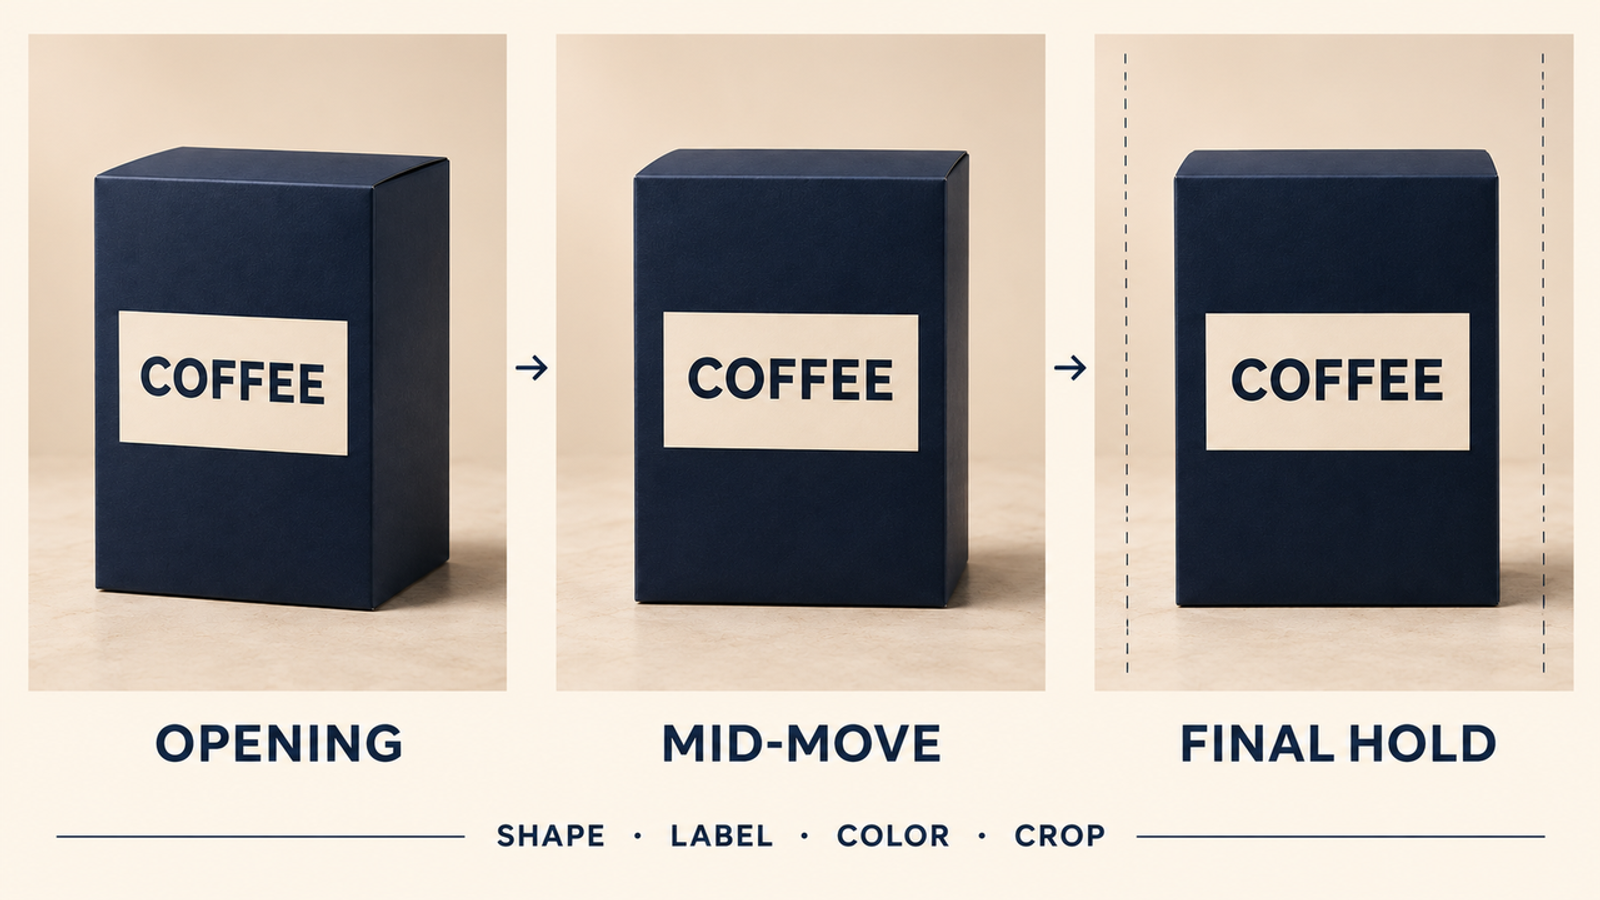
Start with an approved three-quarter photo of a navy coffee carton with a cream label. Ask for a gentle camera push-in while the carton stays on the counter. This gives you a short insert the editor can cut wherever the framing works. During review, check that the label and box edges stay inside the frame as the camera moves closer.
Add an End Frame for a Planned Product Reveal
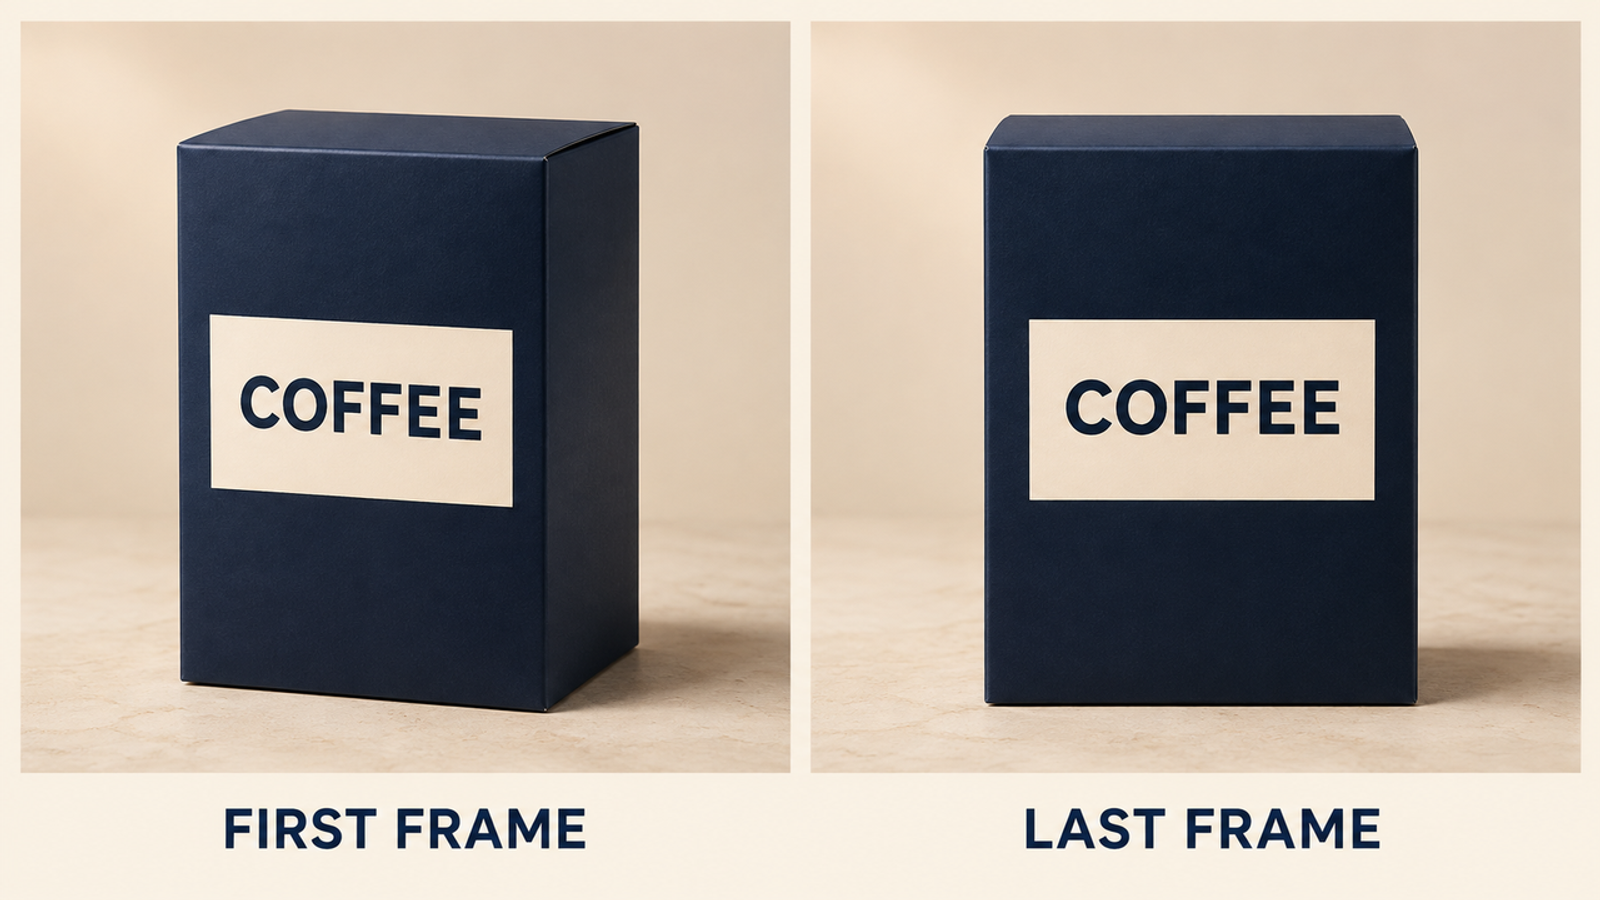
Add a straight-on photo of the same carton when the final shot needs to show the entire front panel. The three-quarter photo sets the opening view, the straight-on photo gives the shot its closing composition, and the prompt describes how the camera moves between them. A shallow arc suits this pair of photos. During review, check that the carton’s shape, color, and label hold up through the turn.
Prepare a Matched Product Frame Pair
Keep the Same SKU and Packaging in Both Frames
Use approved photos of the exact same carton and packaging revision. A front photo of a different roast might look similar in a thumbnail, but it gives the model conflicting label details. Check the pair side by side before uploading.
- Product identity. Match the SKU, logo, label copy, carton color, and visible seams.
- Scene. Use the same counter, background, and lighting direction. Keep the carton in the same position.
- Composition. Match the aspect ratio, camera height, and approximate subject size. Leave room around the carton for the change in angle.
Match Aspect Ratio and Leave Room for Motion
In the BytePlus prompt guide, the first frame sets the output aspect ratio. Crop both photos to the intended delivery ratio before uploading. For a vertical placement, two 1080 × 1920 PNGs give you matching 9:16 inputs. Check the framing again in the exported clip.
Preview both stills with the placement overlay. If the closing shot needs room for an offer or caption, leave space for it while keeping the label clear. Check the side of the carton that moves closest to the edge as the camera approaches the straight-on view.
Generate a Product Clip With Seedance 2.5 Flash
Assign the First and Last Frame Roles
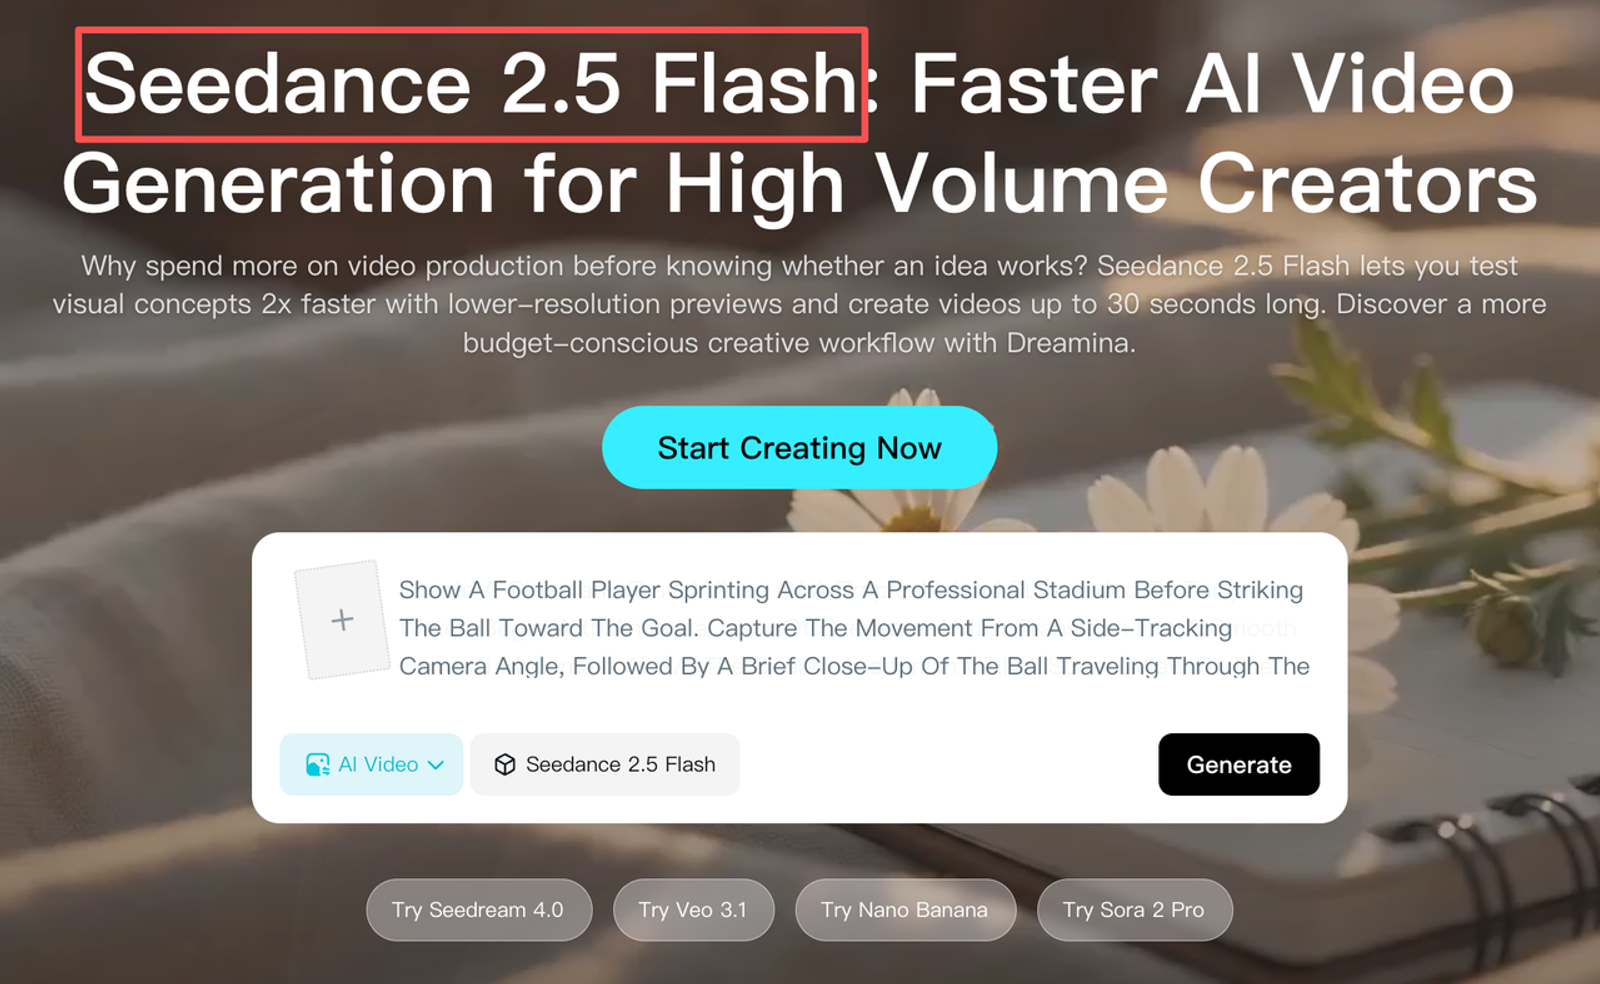
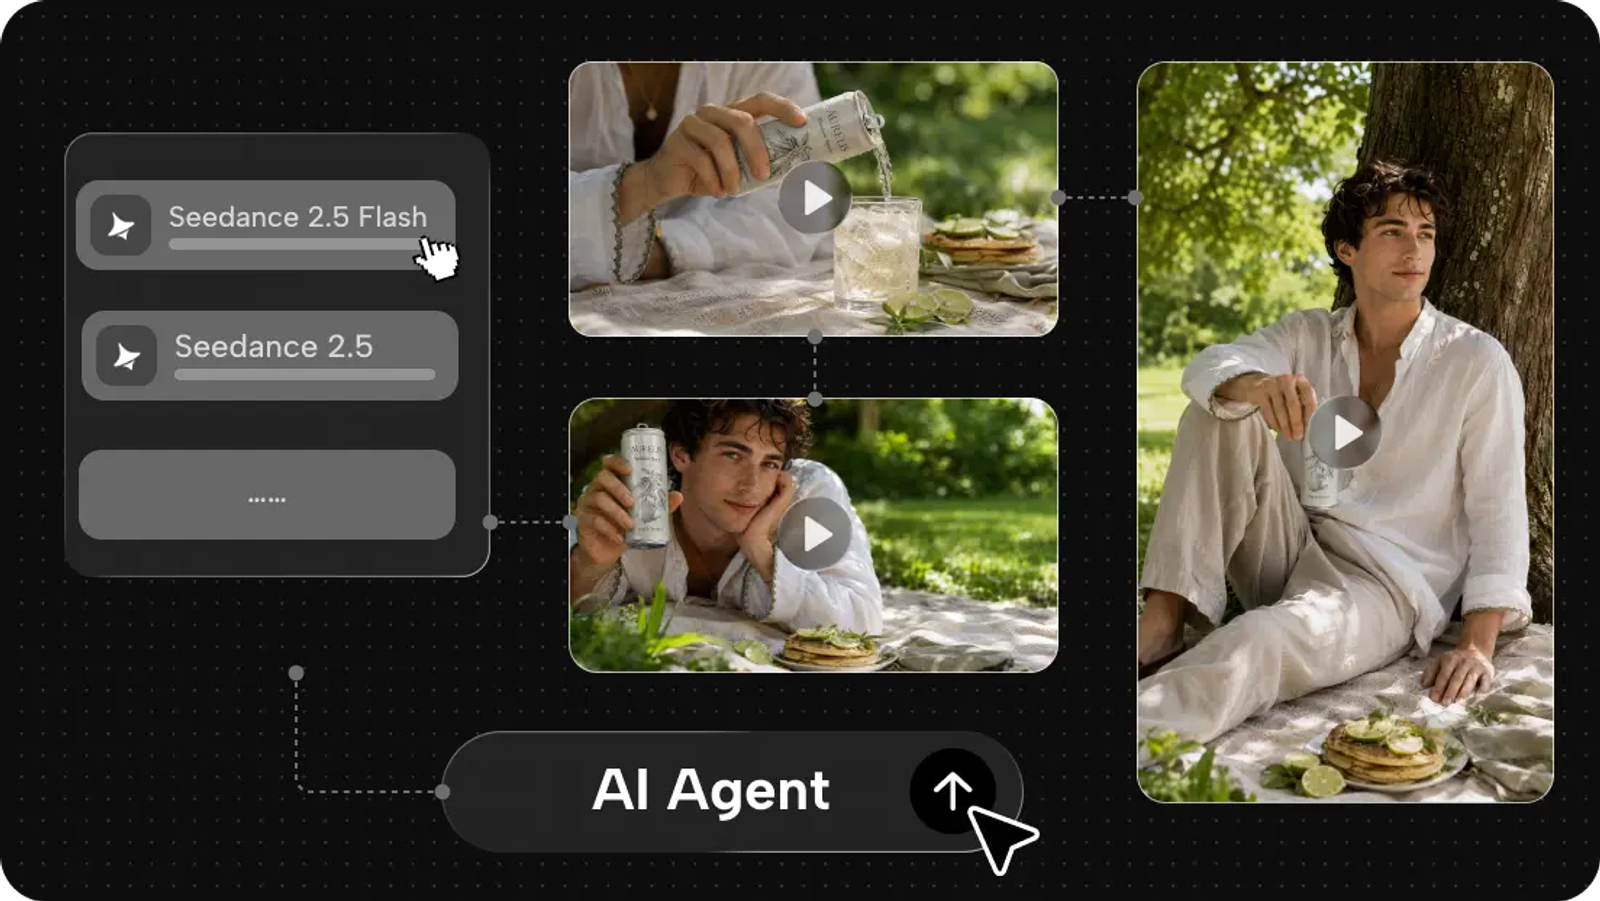
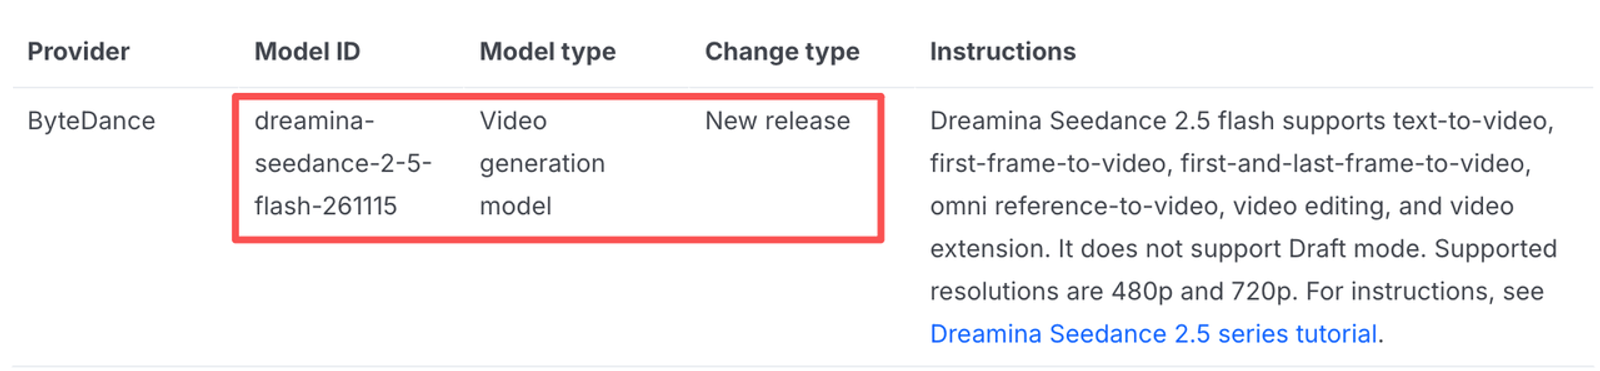
In BytePlus ModelArk, select Dreamina Seedance 2.5 Flash. If you’re using API Explorer or making a direct request, the video generation task API documents the exact frame roles. Use model ID dreamina-seedance-2-5-flash-261115 and assign first_frame to the three-quarter photo. For the two-frame reveal, add the straight-on photo as a second image_url entry with the last_frame role. For the single-frame push-in, supply just the opening image.
BytePlus accepts PNG and JPEG, among other formats. Each API input image must be under 30 MB, with width and height each between 300 and 6,000 pixels. Name the files by role so you can identify the exact pair when revisiting the task.
Write One Motion and Camera Instruction
Describe a continuous camera move and give viewers time to read the final label. The carton is stationary in both photos, so make the camera the moving element. For the two-frame shot, paste this brief into the prompt field or send it as the text entry in your API request.
Begin on the supplied three-quarter view of the navy coffee carton. Keep the carton stationary on the counter as the camera makes a slow, shallow arc to the supplied straight-on view. Settle into a steady hold for the final second with the full front label in frame. Preserve the carton’s proportions, cream label, and navy color throughout the shot.
For the one-frame version, ask for a slow push-in from the three-quarter view and leave the final framing flexible. Wizstar’s Seedance 2.5 prompt guide gives more examples of how to describe camera movement.
Choose a Duration and Review the First Take
For this first take, use adaptive aspect ratio, five seconds, 720p, and MP4. In the API, set ratio to adaptive for either frame mode. ModelArk lists 480p and 720p for Flash and supports durations of 4 to 30 seconds or automatic duration selection. Submit one task, download the completed clip, and watch it at normal speed.
Under the ModelArk video billing rules, a successful generation can be billable even if your team rejects the take. Failures such as moderation blocks are excluded from billing. Check the Flash rate for your settings before ordering retakes.
Check the Product Before Using the Clip
Inspect Shape, Labels, Color, and Cropping
I want to see what survives a second look. Pause at the opening, midway through the arc, and on the final hold. Compare the carton’s corners, proportions, and cream label with the approved photos. Look for letters that shift, a logo that slides, or a color change that makes the carton resemble a different SKU. Then replay the clip at its intended display size. A label can look sharp in the editor and still be hard to read on a phone.
Revise the Frame Pair or Motion Brief
If the first take reaches the front view too late, keep both photos and all generation settings. Change only the timing sentence to Reach the straight-on view by the three-second mark, then hold it through the end with the full front label in frame. On the next take, check whether the label is readable at that point and stays readable through the hold.
If the source photos show different packaging or label copy, replace the mismatched photo with an approved one before regenerating. Keep the motion brief in place for that retake so the team can review the corrected image pair against the same instruction.
Where Does the Clip Fit in an Ad Workflow?
Use it as one product shot. A five-second reveal can follow the opening hook or serve as the product holds near the end. Review it again in the final edit, where the cut, captions, and placement affect what viewers see.
Treat the Generation as One Shot
Keep the hold long enough for the label to register at playback speed. Add the offer, captions, and call to action as editable layers. That lets the team adapt the copy for another placement using the same approved carton shot.
Review Claims, Captions, and Placement
Confirm permission to use the product images, logo, and music in the campaign. The BytePlus video model terms place responsibility for inputs and output use on the customer. For unreleased packshots, check retention for the upload method your team uses. A single Flash-specific retention period for uploaded photos remains unconfirmed.
Check product claims and captions against approved copy and supporting evidence. Preview the finished ad in the intended placement and review the platform’s current advertising and AI disclosure rules before submission. This section provides general information only.
Conclusion
Start with one approved opening photo. Add a matching end photo when the product needs to land on a specific closing view. Approve the Flash clip when the camera move reads clearly, the label holds up, and the crop works at placement size. If you’re preparing the same shot in Wizstar, the listed Seedance 2.5 Keyframe to Video workflow uses the standard 2.5 model.
FAQ
- Can a Flash frame task run without a text prompt?
- Yes. The text entry is optional for both frame modes in the ModelArk API. Include a prompt when you need a specific camera move, pace, or length of hold.
- Can Flash combine locked start and end frames with extra reference images?
- No. ModelArk treats locked-frame generation and omni-reference generation as separate task types. Use first-and-last-frame generation for defined endpoints. Use omni-reference when extra images need to guide the shot and the endpoints can be flexible.
- Can the same product image be used as both the first and last frame?
- Yes. BytePlus allows both image entries to use the same photo. Describe any movement you want between the matching endpoints, then check how the shot returns to the closing composition.
- Does Flash offer Draft mode for a frame-based clip?
- No. A Flash frame task generates a clip directly. Review that output as a regular take.
- Is Flash's two-frame mode available in Dreamina as well as BytePlus?
- Yes. The official Dreamina Seedance 2.5 Flash page lists First and last frames as a reference mode. Select Seedance 2.5 Flash in Dreamina and check that the mode appears in your account. On BytePlus ModelArk, the equivalent task uses the
first_frameandlast_frameroles.